
Fees & tools
Choosing a withdrawal network: cost, speed, and the risk of picking wrong
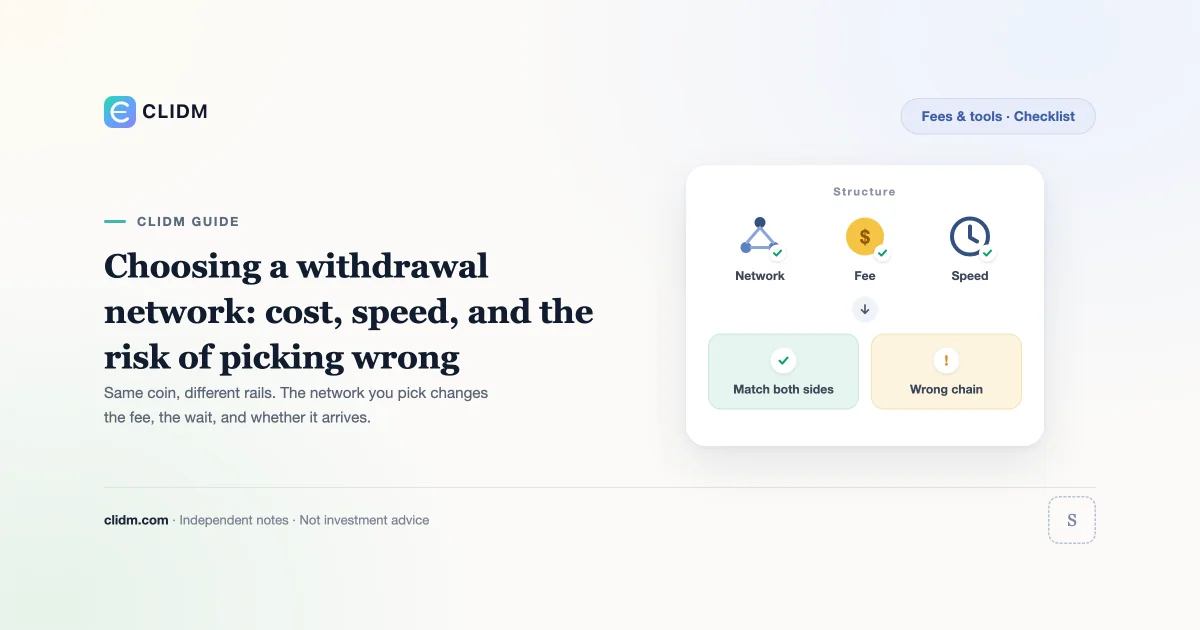
Same coin, different rails. The network you pick changes the fee, the wait, and whether it arrives at all.
Choosing a withdrawal network: cost, speed, and the risk of picking wrong
The same token often exists on several networks. When you press withdraw, the platform asks you to pick one—and that single dropdown decides what you pay, how long you wait, and whether the funds arrive in a usable place at all.
What the network selector actually chooses
A token symbol is not a location. "USDT" or "ETH" on one network is a different ledger entry from the same symbol on another. The network selector chooses the rail your transfer travels on. The receiving side must be able to read that rail.
This is why the question is never "which network is cheapest." It is "which network do both sides support."
The three costs you are trading off
Network fee. Paid to the chain, not to the platform. It moves with congestion.
Platform withdrawal fee. Set by the venue, often a flat amount per asset per network. Some venues bundle the network cost into it; some add on top. Read the live withdrawal page rather than a tutorial.
Time and finality. Cheaper rails are not always slower, and faster rails are not always cheaper. What matters more is how many confirmations the destination requires before crediting you.
There is a fourth cost people forget: compatibility risk. A rail that saves a small fee but is not supported by the destination can cost the entire transfer.
The rule that prevents most losses
Before sending, confirm the same network name appears in three places:
- The withdrawal network selector on the sending side
- The deposit network selector on the receiving side
- The address itself, generated after the receiving side's network was chosen
Addresses on some networks look identical in format even when the rails differ. Format similarity is not compatibility. Generate the deposit address fresh, on the receiving platform, with the network already selected.
How to read the withdrawal screen
- Select the asset first, then the network—changing the asset can silently reset the network
- Check whether the fee shown is deducted from the amount or added to it
- Check the minimum withdrawal for that specific network; minimums differ per rail
- Look for a memo or tag field; if it appears, it is required unless the page says otherwise
- Note the estimated arrival and required confirmations
If any of these are unclear on the live page, that is a reason to slow down, not to guess.
Failure modes worth memorising
- Picking the cheapest rail without checking destination support
- Reusing an address saved from a previous transfer on a different network
- Copying a network choice from a tutorial or screenshot that has aged
- Changing the asset after selecting the network, then not re-checking
- Withdrawing to a platform that supports the token but not that particular rail
- Sending the full balance on a first attempt to a brand-new route
A routine for any new route
- Confirm the network on both sides, in the live interfaces, today.
- Generate the deposit address fresh; copy with the official button.
- Send a small test amount first—the smallest the platform allows.
- Wait for it to credit, not just for it to leave.
- Save the transaction ID and a screenshot of both sides.
- Only then send the remainder.
The test transfer costs one extra fee. It is the cheapest insurance in this entire workflow. The habit is covered in more depth in the small test withdrawal habit.
What a cheaper network does not guarantee
A low fee says nothing about whether the destination credits it, how long support takes to respond, or whether the rail is congested at the moment you send. Optimise for arrival first and cost second. The difference between rails is usually small; the difference between arriving and not arriving is total.
How this page connects to the rest of CLIDM
Use the learning path for sequence and the security hub for account controls. For the fee side, read crypto withdrawal fees and how to read trading fees. For what happens when the rail is wrong, see wrong network deposit recovery and deposit memo and tag fields.
CLIDM quality standard
We optimise for checklists, failure modes, and operating order—not trade signals or return guarantees. Interfaces and fee schedules change; reopen the official page before increasing size. Last reviewed: 2026-08-25.
Educational only. Not investment, legal, or tax advice. Digital assets can lose value. Availability varies by region.